How to Set Up a Tent for the First Time — Without Feeling Like You Have No Idea What You’re Doing
Learning how to set up a tent for the first time can feel like one of those beginner camping tasks everyone else magically knows how to do.
You pull into camp. You’re excited. You’re picturing the campfire, the stars, the fresh air, the morning coffee outside. And then you open the tent bag and suddenly there are poles, stakes, clips, fabric, zippers, and maybe a little bit of panic.
The good news? Setting up a tent is usually much easier than it looks once you understand the basic steps. And even more importantly, a good tent setup starts before you connect a single pole.
Where you place your tent matters. How you angle it matters. What’s above you, below you, and around you matters. A little planning can make the difference between a cozy night outside and waking up in a puddle wondering where it all went wrong.
So whether you’re camping for the first time, heading to a music festival, borrowing gear from a friend, or renting camping gear from Basecamp Brooklyn, here’s how to set up your tent with confidence.


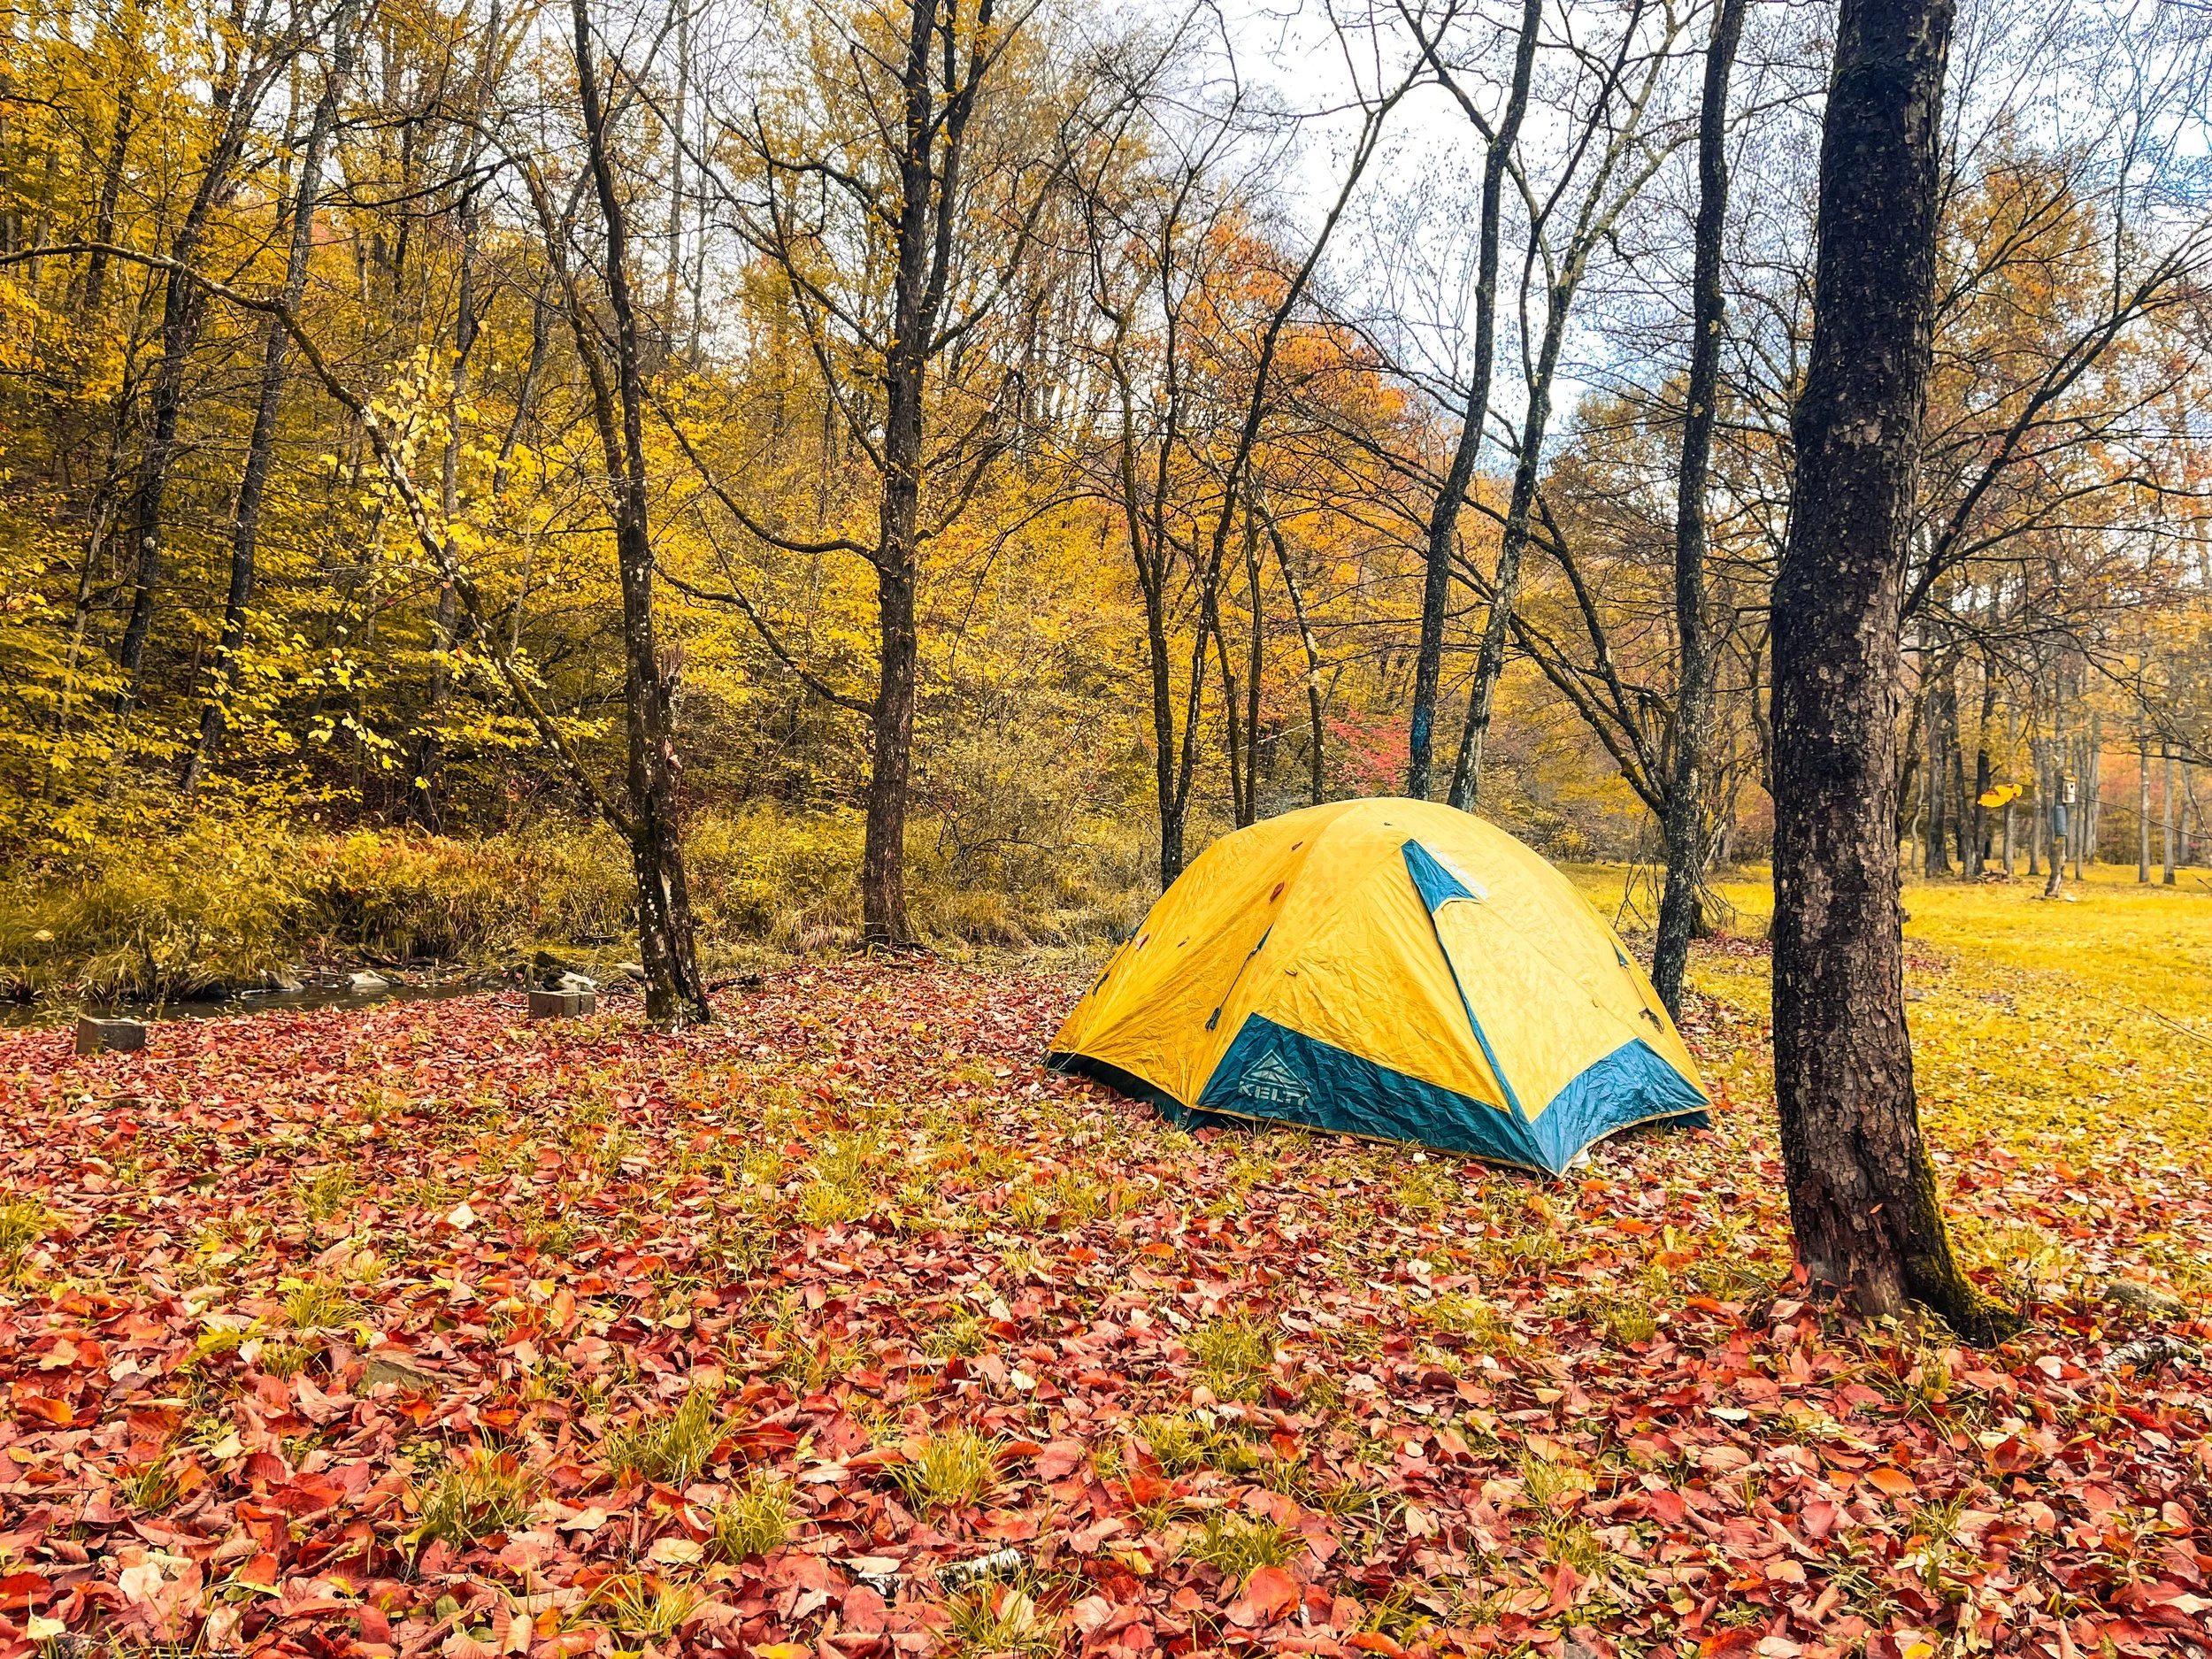
First: Pick the Right Tent Spot
Before you unpack anything, take a minute to look around your campsite. This is one of the most important parts of setting up a tent, and it’s the part beginners often skip.
You want a spot that is flat, dry, safe, and comfortable.
Look for slightly higher ground
If rain is in the forecast — or honestly, even if it isn’t — avoid setting up in the lowest part of the campsite.
Water runs downhill, and a low, flat-looking area can become a soggy little pond in the middle of the night. Look for a spot that’s slightly elevated so rainwater naturally drains away from your tent instead of toward it.
You don’t need to be on a hill. In fact, sleeping on a slope is annoying. But you do want to avoid obvious dips, drainage paths, and low spots where water might collect.
Avoid high grass
A grassy meadow might look pretty, but tall grass can hold moisture and attract bugs.
If you can, choose a more open, cleared area with short grass, packed dirt, or an established tent pad. This helps reduce dampness around your tent and makes your campsite less appealing to ticks, mosquitoes, and other little visitors you probably did not invite.
Check what’s overhead
Shade can be great, especially in summer. But before setting up under a tree, look up.
Avoid pitching your tent under dead limbs, broken branches, or a tree that looks unhealthy. Campers sometimes call dead overhead branches “widowmakers” for a reason — they can fall unexpectedly, especially in wind or storms.
If you’re setting up under trees, choose a spot where the branches look healthy and secure. And if the weather looks rough, avoid questionable tree cover altogether.
Clear away rocks, sticks, and sharp objects
Before laying out your tent, do a quick sweep of the ground. Move any sharp sticks, rocks, pinecones, or anything else that could poke into the tent floor or make sleeping uncomfortable.
This is also a good moment to check for anthills, muddy patches, or anything else you don’t want to discover later.
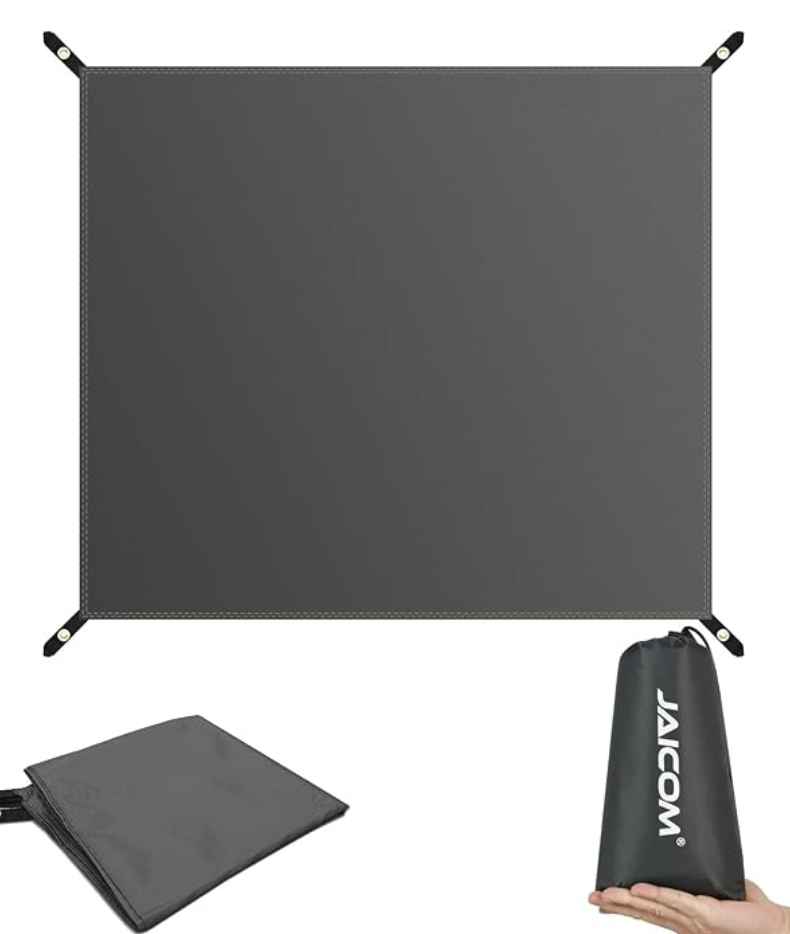
Do You Need a Ground Tarp or Footprint?
You might have heard that you should always use a ground tarp or footprint under your tent.
Sometimes that’s true. But it’s also one of those camping tips that can backfire if it’s done incorrectly.
At Basecamp Brooklyn, we do not include a separate ground tarp or footprint with our rental tents because if it sticks out beyond the edges of the tent, it can actually collect rainwater and funnel that water underneath you. In that case, it can be worse than not using one at all.
If you do use a tarp or footprint, make sure it is fully tucked under the tent and does not extend past the tent floor. You should not see it sticking out around the edges.
Ultimately, the most important ways to protect your tent from water are to set up your rainfly properly and pitch your tent on slightly higher ground, so rainwater drains away from your tent instead of pooling underneath it.
The goal is to keep water moving away from your tent — not accidentally create a little rain-catching tray underneath it.
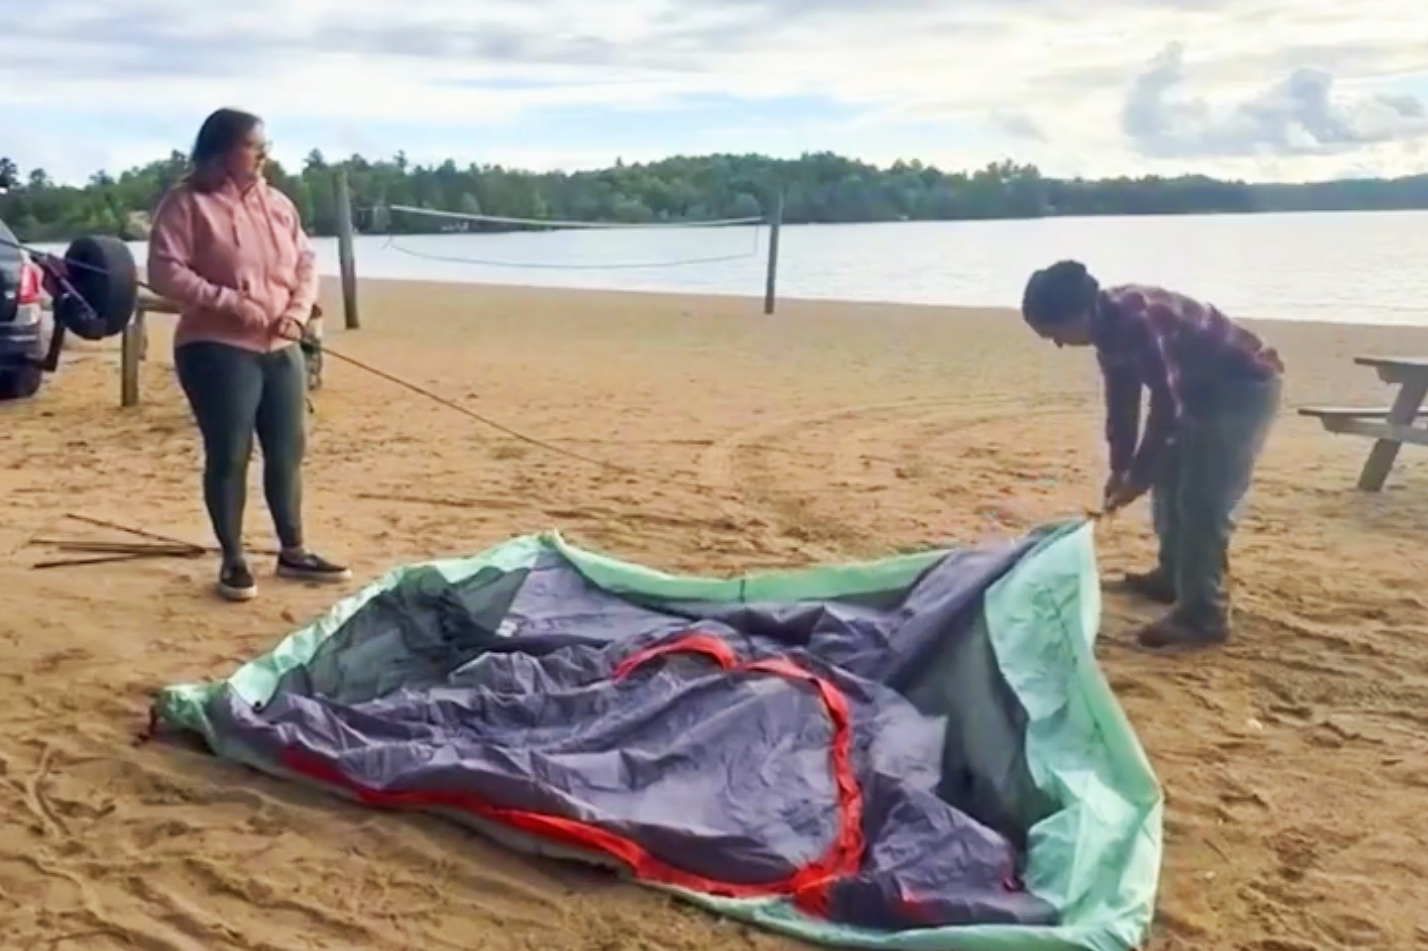
Lay Out the Tent Before Adding Poles
Once you’ve chosen your spot, take the tent body out of the bag and spread it out on the ground.
Pay attention to where the door is facing. You may want it pointed toward your picnic table, campfire area, view, or the direction that makes the most sense for getting in and out easily.
Try not to point the door directly into strong wind if you can avoid it. If it’s breezy, turn the tent so the narrowest or most aerodynamic side faces the wind.
Once the tent is laid out where you want it, you’re ready for poles.
Assemble the Tent Poles
Most modern tent poles are connected with elastic shock cord, which makes them easier to assemble. Let the sections guide themselves into place instead of forcing them.
A few tips:
Start by gently unfolding the poles.
Let each section slide into the next.
Don’t whip them around or force bent pieces.
Keep an eye on the pole ends so they don’t poke the tent fabric.
Once the poles are assembled, match them to the correct corners, sleeves, or clips depending on the tent design.
Every tent is a little different, but most beginner-friendly tents use either pole sleeves, pole clips, or a combination of both.
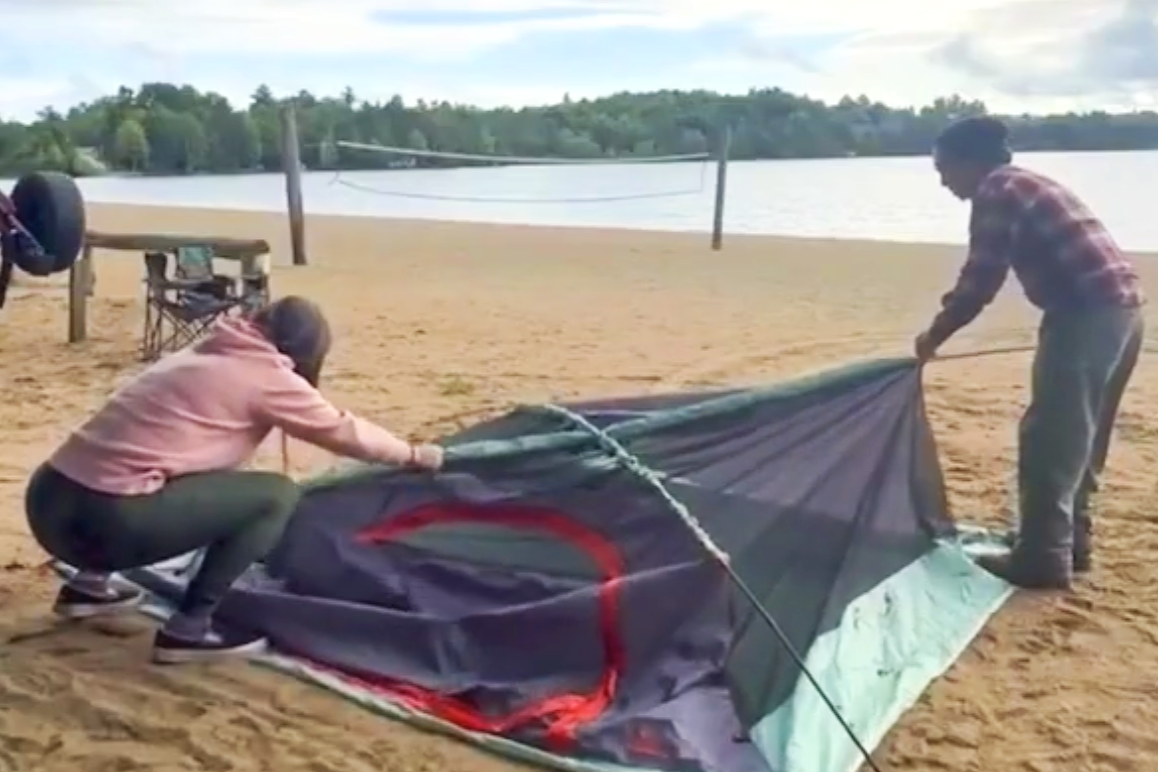
Attach the Tent Body
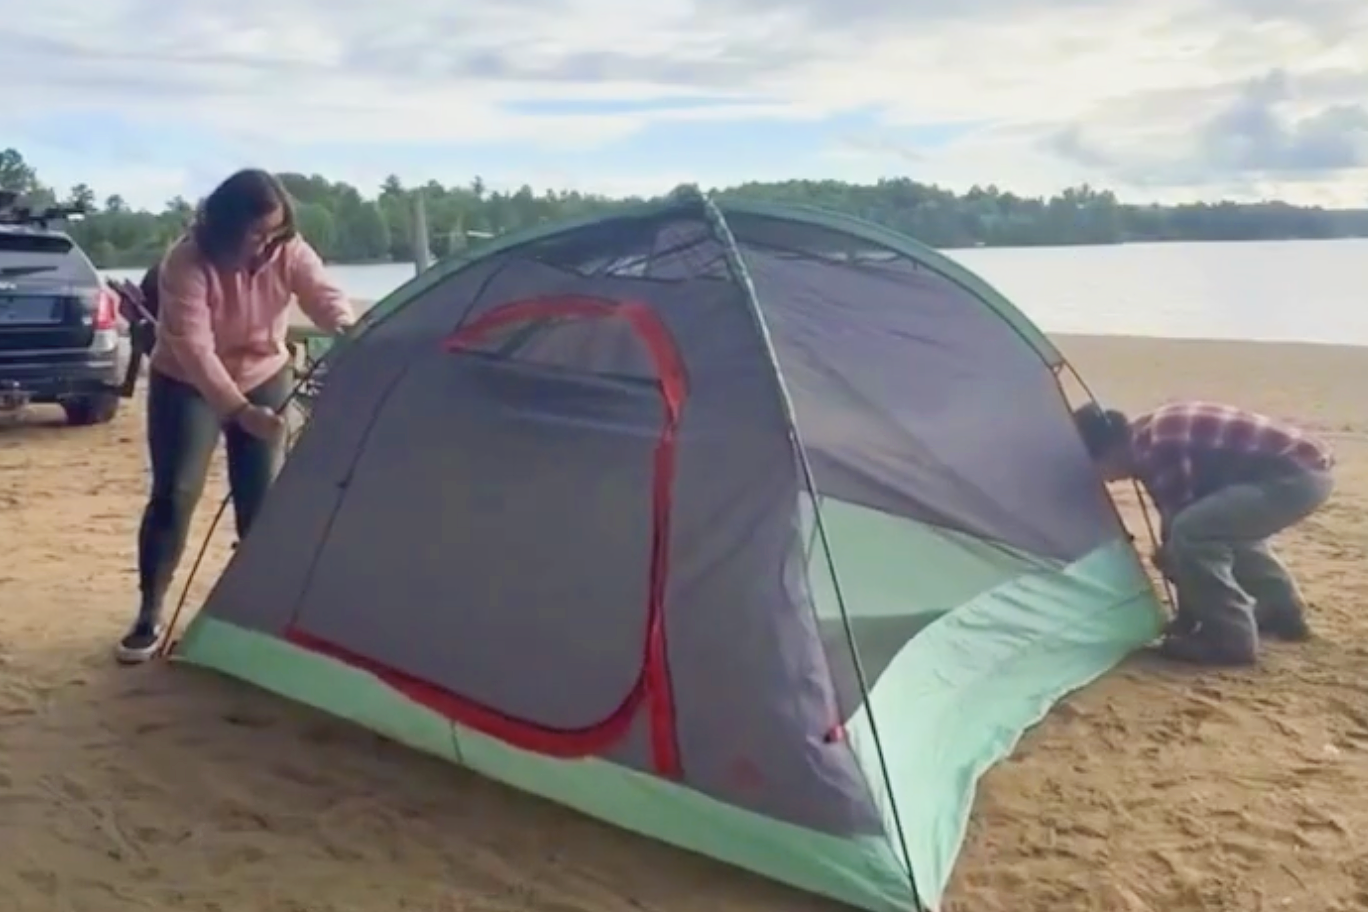
Now it’s time to raise the tent.
This is usually the part where the whole thing suddenly makes sense.
Insert the poles where they belong, secure them into the corners or grommets, and begin attaching the tent body to the poles. As the poles bend into place, the tent will start to take shape.
Go slowly and don’t force anything. If something feels wildly wrong, pause and check that the poles are in the right position.
For two-person setups, it can help to have one person hold the tent steady while the other secures the opposite side. But many tents can absolutely be set up solo once you get the hang of it.
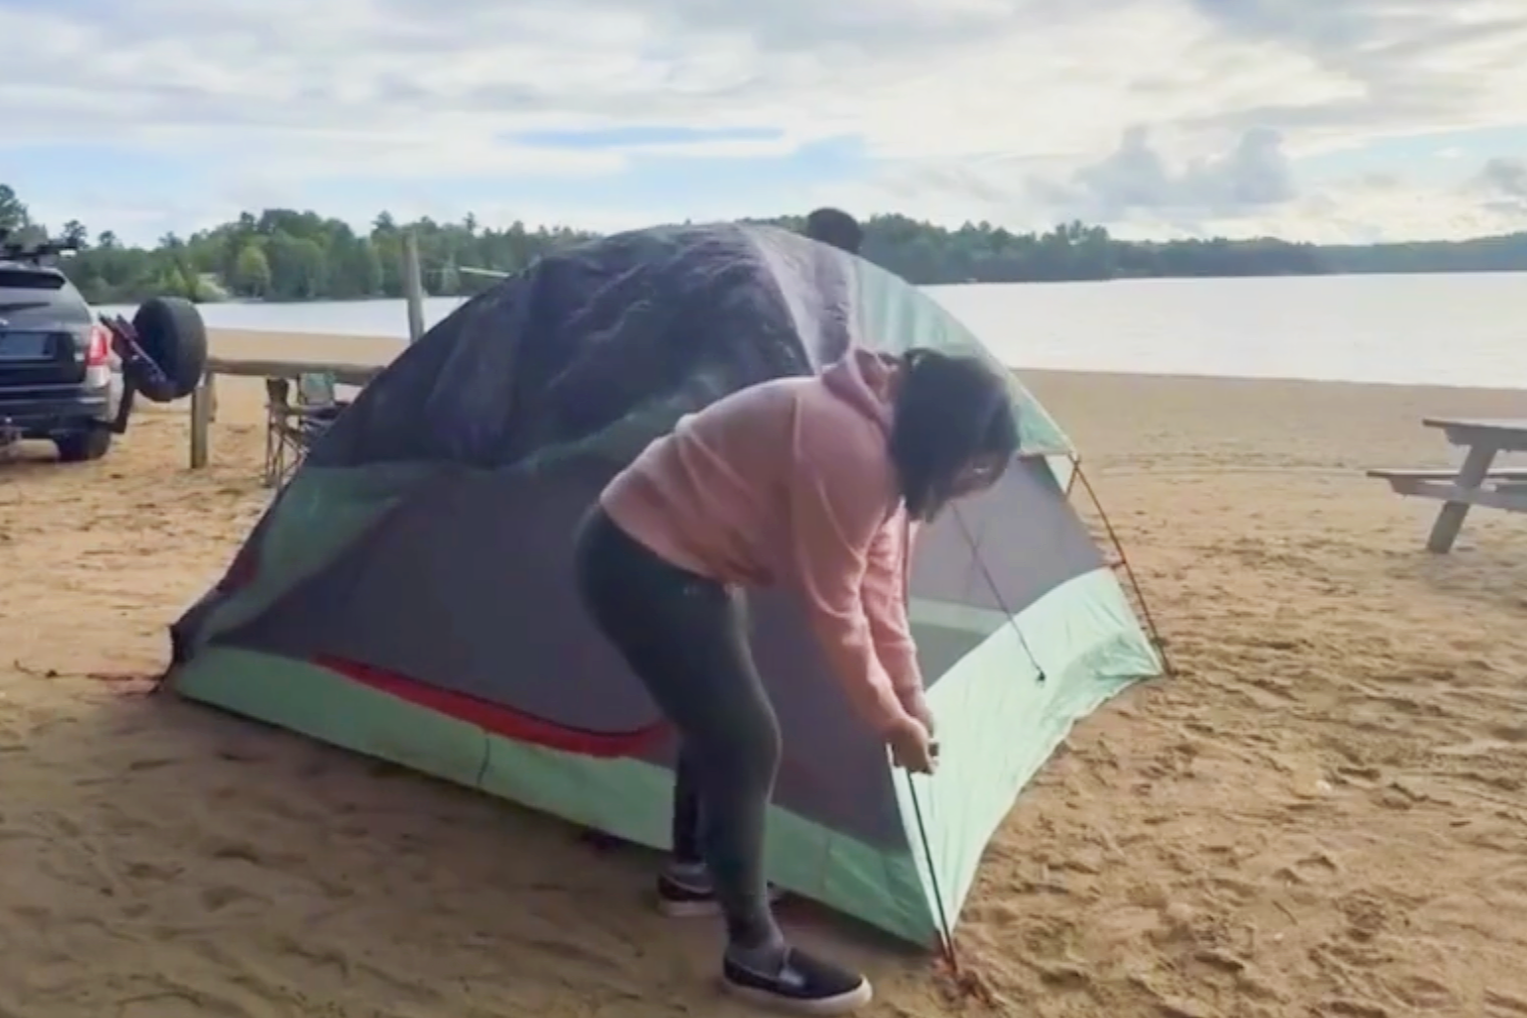
Stake Down the Tent
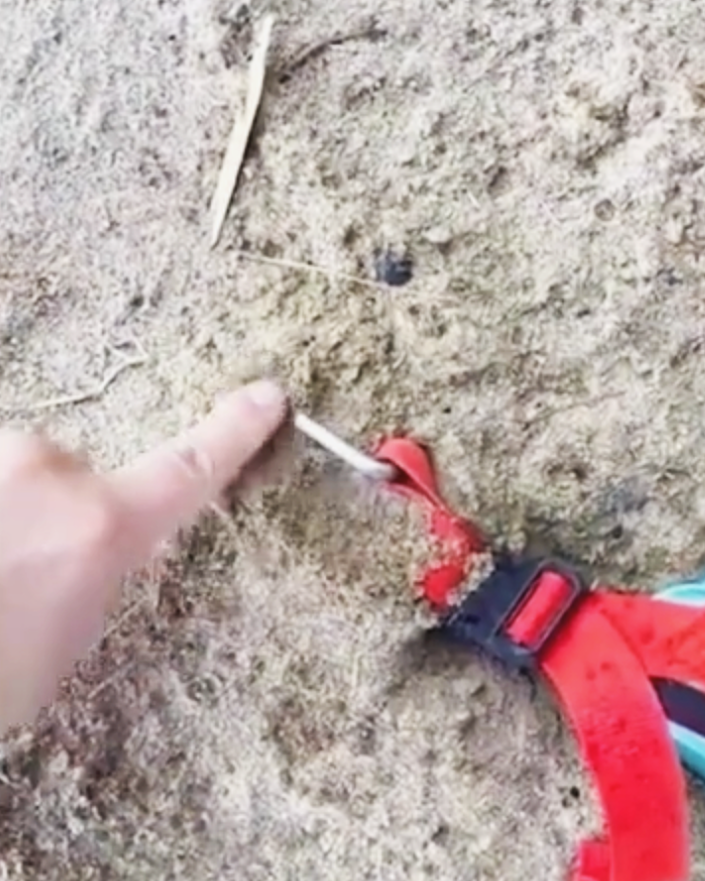
Once the tent is standing, stake it down.
This step matters even if the weather looks calm. Wind can show up fast, and an unstaked tent can shift, flap, or in truly dramatic moments, try to become a kite.
Push or gently hammer the stakes into the ground at an angle, leaning away from the tent. This gives them better hold.
Start with the corners, then stake any additional loops or guy lines if your tent has them.
If the ground is very hard, don’t force the stake straight down so aggressively that it bends. Try a slightly different spot or angle.
Add the Rainfly
The rainfly is the outer layer that helps protect your tent from rain, wind, and condensation.
Even if the forecast looks clear, it’s usually a good idea to put the rainfly on before you go to sleep. Weather can change overnight, and morning dew alone can make things damp.
Make sure the rainfly is positioned correctly over the doors and windows. Clip or buckle it into place, then stake out any extra guy lines if needed.
A properly set-up rainfly should create a little space between the fly and the tent body. That space helps with airflow and moisture management.
Ventilation Matters
One beginner mistake is closing everything up super tightly because you’re trying to stay warm or keep bugs out.
But tents need airflow.
If your tent has vents, use them. If the weather allows, keep a window or vent cracked open underneath the rainfly. This helps reduce condensation inside the tent.
Otherwise, you may wake up and think the tent leaked — when really, moisture from your breath collected inside overnight.
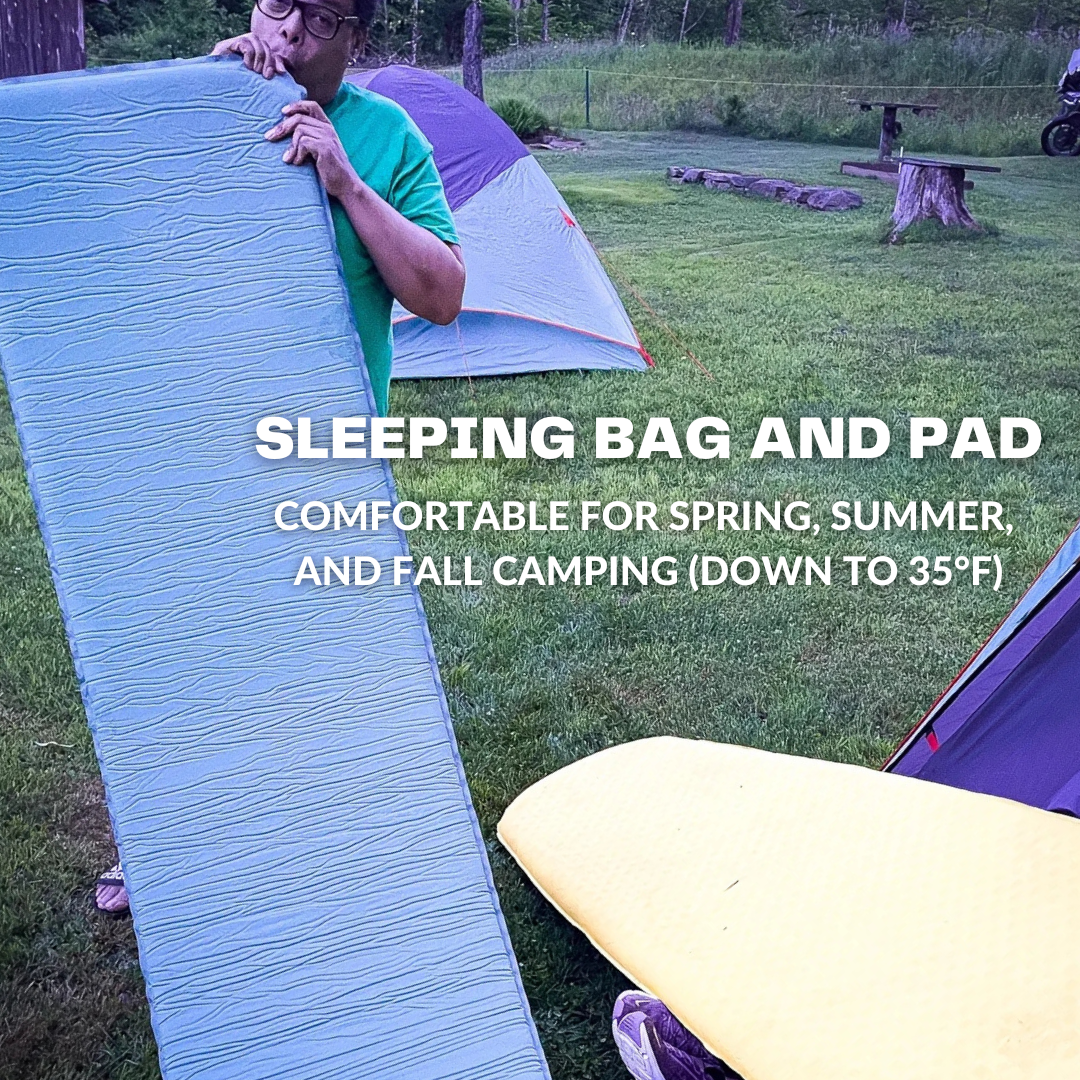
Your tent is only one part of a good night’s sleep. A sleeping bag keeps you warm, but a sleeping pad keeps you cushioned and insulated from the ground — which is why our rental gear includes tents, sleeping bags, and sleeping pads.
Don’t Forget the Sleeping Pad
A sleeping bag alone is usually not enough.
Your sleeping pad is what creates a layer between your body and the ground. It adds comfort, but it also helps insulate you from the cold earth underneath you.
At Basecamp Brooklyn, our rental setup includes sleeping pads because they make a huge difference — especially for first-time campers who may not realize how hard and cold the ground can feel by 3 a.m.
Before bedtime, inflate or unroll your sleeping pad and give it a minute to settle. Then add your sleeping bag on top.
What Basecamp Brooklyn Takes Care of For You

Renting gear from Basecamp Brooklyn? We check your tent before it goes out, make sure the essential pieces are included, and send you a setup video so you’re not figuring it out from scratch at camp.
If you’re renting camping gear from Basecamp Brooklyn, there are a few beginner headaches we help take off your plate.

We check the gear before it goes out to make sure everything is there and in good condition. That means you’re not arriving at camp only to discover you’re missing poles, stakes, or some mysterious piece you didn’t even know you needed.
We also provide a setup video for our rental tents, so you can see exactly how the tent goes together before you’re standing at your campsite trying to figure it out in real time.
And because we rent camping gear locally in NYC, you don’t have to buy a tent, store it in your apartment, clean it after the trip, or wonder whether you bought the right thing for your first weekend outside.
You get the gear you need, beginner-friendly guidance, and one less reason to overthink going camping.
First-Time Tent Setup Mistakes to Avoid
Here are a few common beginner mistakes that are easy to avoid:
Setting up in a low spot
If the area looks like water could collect there, pick somewhere else.
Pitching your tent in tall grass
It can be buggy, damp, and generally less comfortable.
Ignoring the trees above you
Always look up before choosing your site.
Forgetting to stake the tent
Even in calm weather, stake it down.
Using a tarp that sticks out past the tent
If a tarp extends beyond the tent floor, it can catch and direct water underneath your tent.
Waiting until dark to set up
If it’s your first time, give yourself daylight. Everything is easier when you can actually see what you’re doing.
Packing the tent away wet
If you own your tent, always dry it fully before storing it long-term. A damp tent can grow mildew fast.
If you rent from us, we handle the post-trip gear process — but please still do your best to shake off dirt, leaves, and excess moisture before returning it.
Practice Helps — But You Don’t Have to Be an Expert
If you’re nervous, practicing in a backyard, park, or living room can help. But you also don’t need to be some rugged outdoor expert to go camping.
You just need a little preparation, the right gear, and a willingness to figure it out.
That’s really what Basecamp Brooklyn is all about: helping more New Yorkers get outside without feeling like they have to already know everything.
Camping should feel accessible. It should feel doable. It should feel like something you can say yes to — even if you’re still learning.

Camping Near NYC? Rent the Gear Instead of Buying It
If you’re planning your first camping trip from NYC, you don’t need to invest in a whole closet full of gear before you know what you like.
Basecamp Brooklyn rents tents, sleeping bags, and sleeping pads for local pickup, so you can get outside without buying, storing, and maintaining everything yourself.
We’ll help you get the essentials covered — and yes, we’ll send you the tent setup video too.
Reserve your camping gear rental, grab your friends, and go enjoy a weekend outside.
Because once the tent is up, the best part begins.
Ready to camp without buying all the gear?
Check out our NYC camping gear rentals for tents, sleeping bags, and sleeping pads — all available for local pickup.
Keep Exploring